Last updated on March 9, 2023
Swift 4.2 | Xcode 10
OVERVIEW
There are many different ways to pass information from one screen to another. One easy way I’ve found is using callback. The scenario here is that the user will be presented a screen with a button. Now when the user press the button, he will then enter into another screen to pick his food. Once he picks his food, he will then go back to the initial screen with the same information and the cost of the food before he could make a payment.
DESIGNING THE STORYBOARD
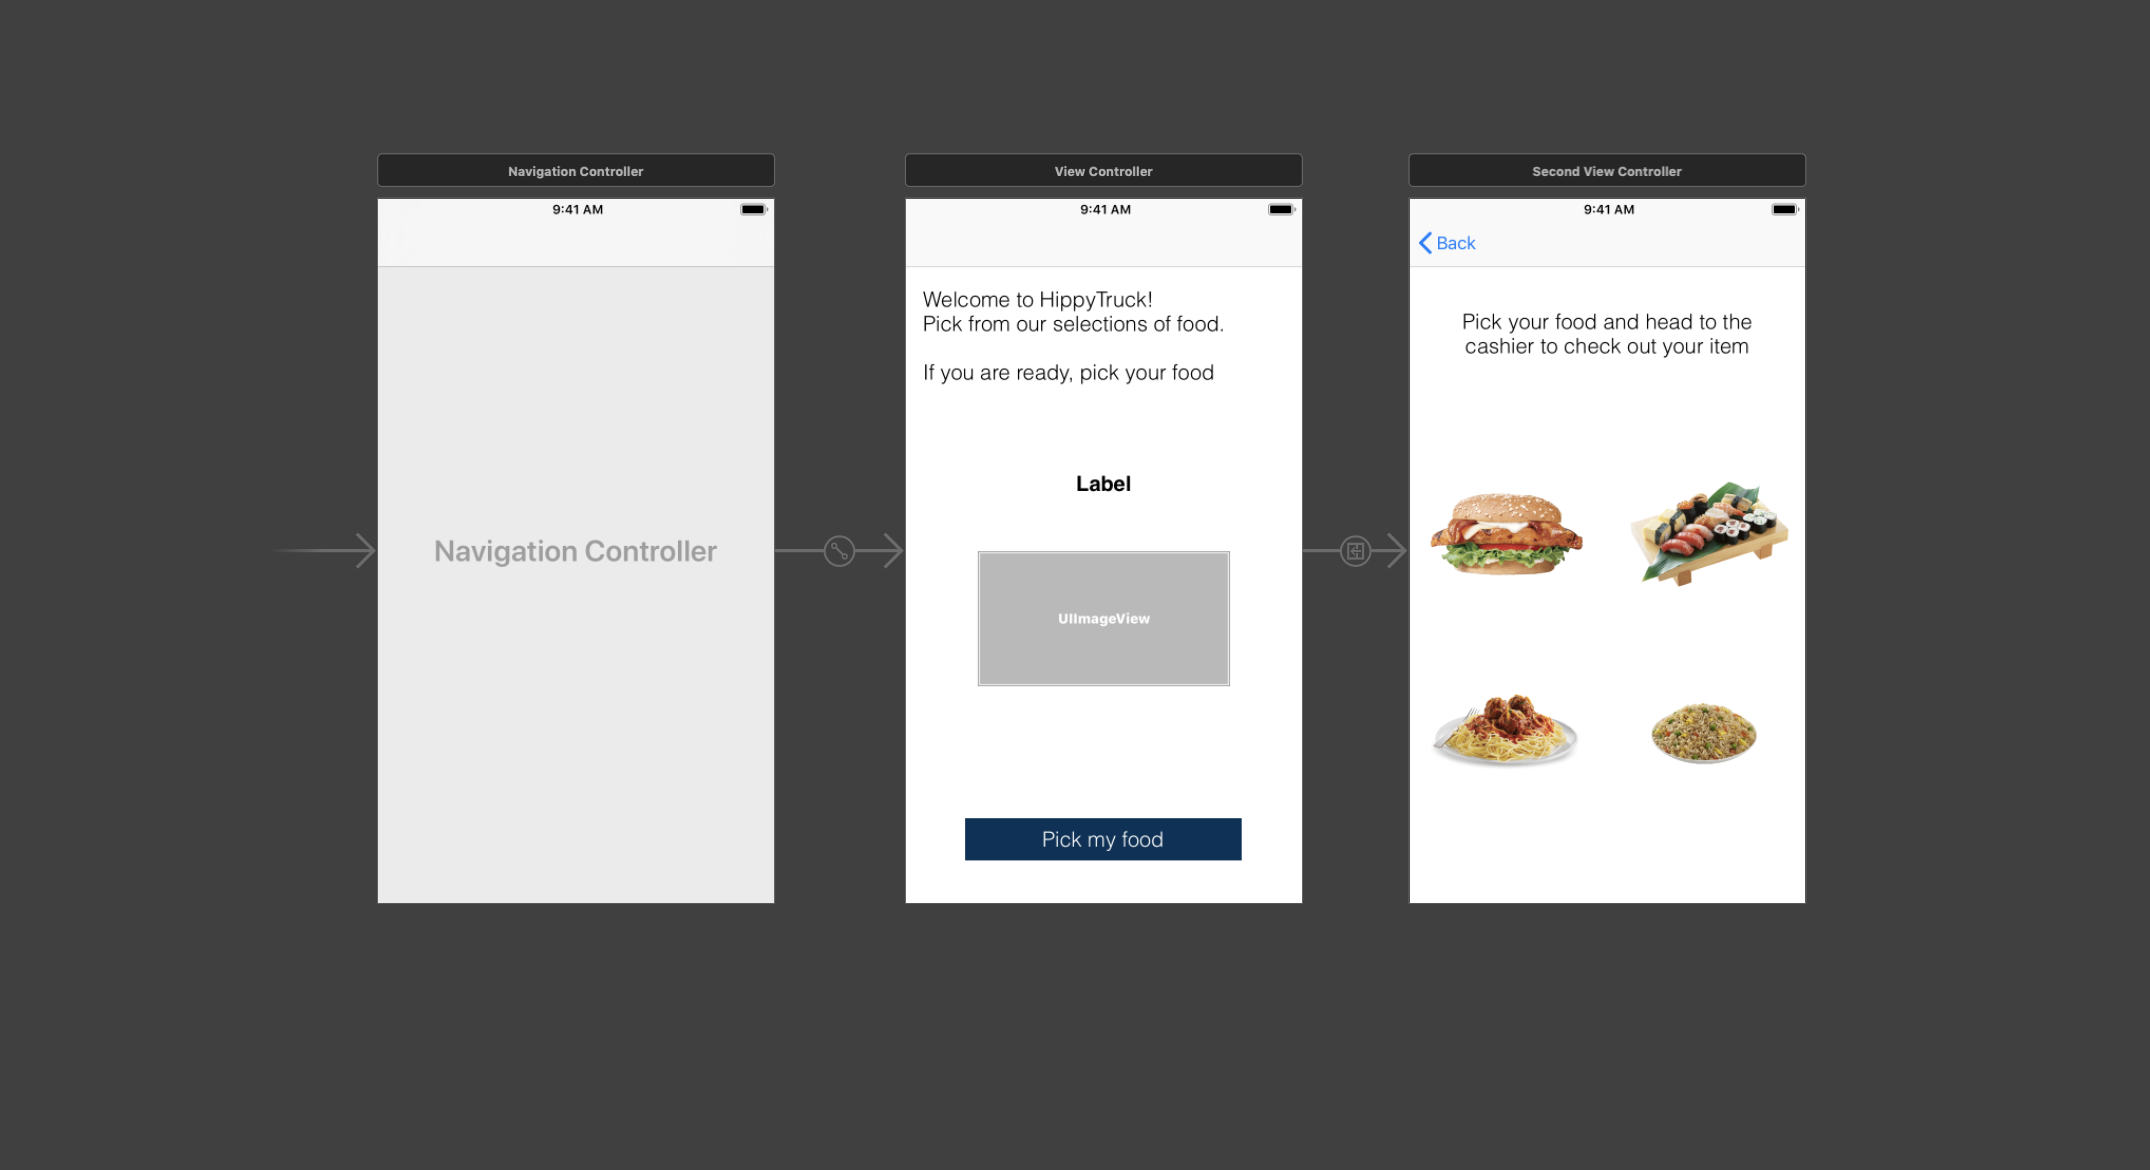
The first screen will contains the following:
- Embed with Navigation Controller
- Label for title
- Bolded label
- ImageView
- Button
The second screen contains:
- Label for title
- Four Image View
WRITING THE CALLBACK METHOD
We are hoping here again that when a user click on burger on the second screen, it will return burger and potentially additional information to the first screen. Before we proceed, make sure you have two view controller attached to both view on the storyboard.
Some of the things need to be implemented in the first screen first before we move into the next screen.
First Controller: Create a segue from first controller to second controller
With this, we are able to connect the information from first screen to the second screen. You will see shortly that burger is actually a closure in the second view controller.
// First Controller
override func prepare(for segue: UIStoryboardSegue, sender: Any?) {
        if segue.identifier == "toNext" {
            let destination = segue.destination as! SecondViewController
            destination.burger = displayBurger
        }
First Controller: Create a function to inherit the information
With the code above, we are connecting the closure from a second view controller with our function in the first view controller. And if the user click on the burger, it will pass the necessary information. The variable inside are just some variable I’ve created in the controller.
// First Controller
func displayBurger(_ title: String, _ image: String){
    titleLabel.text = title
    imageView.image = UIImage(named: image)
}
Second Controller: Create a closure and IBOutlet
You’ve seen in the previous step that we needed to have a closure called burger that takes in string. With that, I’ve created a closure that takes in both string. Now remember, that this is connected with the func prepare(for segue: UIStoryboardSegue created previously.
// Second controller
class SecondViewController: UIViewController {

    var burger: ((_ title: String, _ image: String) -> Void)?

    @IBOutlet weak var burgerImage: UIImageView!
Second Controller: Add action
I’ve created a GestureRecognizer for the image, hoping that when a user tap on the image, it will trigger the function and pop the controller to return to the first screen.
burgerImage.addGestureRecognizer(UITapGestureRecognizer(target: self, action: #selector(burgerSelected)))
Remember the closure that we created that takes in two string? Now this is where we assign the data.
@objc func burgerSelected(){
   burger?("You've selected burger. \nTotal cost is $10", "burger")
   navigationController?.popViewController(animated: true)
}
Once you are done with this, you could create three more foods. If you are still having difficulty figuring out, dont worry. I’ve uploaded the code onto GitHub
SEE THE ACTION

Comments are closed.